How To Create Panoramic Photographs
Some newer cameras have a built-in panoramic or stitching mode but the final results vary quite a bit in quality. My advice is to do it manually. It is really very easy as I will show you.
First, you have to keep the aperture setting the same for the photos that you will be combining. If it varies the depth of field will change and the results will not look good. So set your camera to aperture priority. Choose f8 or higher. If the shutter speed varies between photos it will not matter.
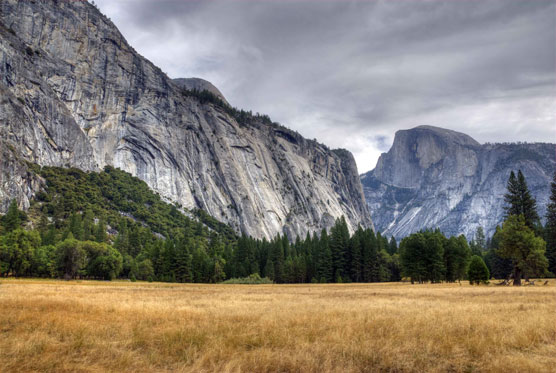
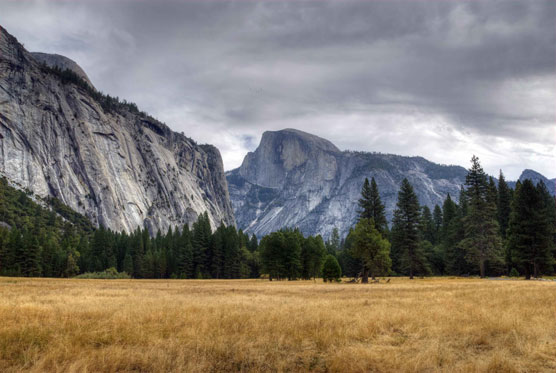
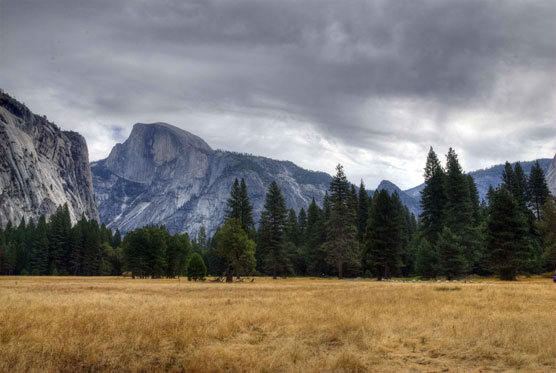
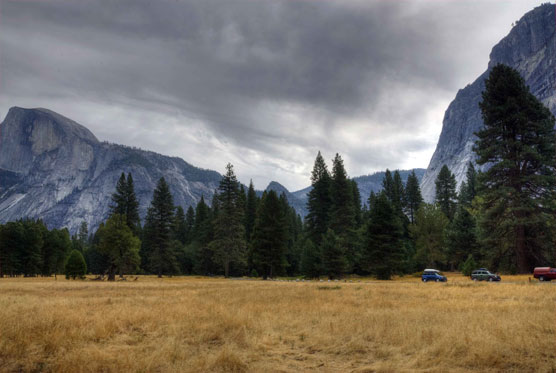
Second, pick a horizon line. You are going to be taking multiple photos using your body as the fulcrum point. Once you are ready, do not move your feet. Swivel your body to the left and take the first photo. Overlap the next photos by at least 25% as you turn. In the photos below I used the line between the meadow and the trees.

Third, the fun part. If you are a windows user like me, Microsoft Research offers an excellent FREE program to put all your photos together. You can get it here: http://research.microsoft.com/en-us/um/redmond/groups/ivm/ice/
It is called the Image Composite Editor (ICE) and is very easy to use. Drag and drop your photos into it and let the program do it’s magic. For you folks using Mac’s there is other software that will do the same thing. The result looks like this.
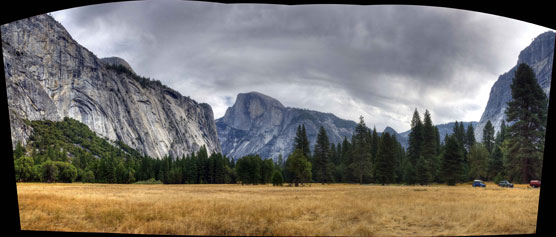

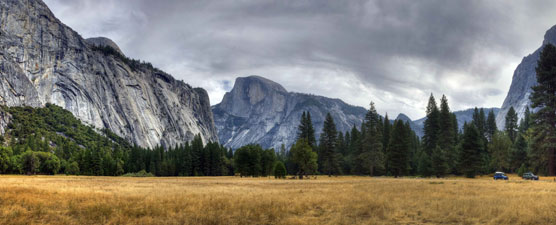
Use your favorite photo editor to crop.

If you don’t like Honda Elements you can always remove them…

Finally, the more photos you take to stitch together, the “skinnier” the result will be. Below is a composite of 9 photos at Rock Creek Lake in the Eastern Sierras.


Try to stick to 4 or 5. Unless you like skinny photos.
Regards, Park Ranger
No Comments
Visit full-site to leave a comment